
Rethinking the inside of a home often begins with a handful of beautiful images, yet a good interior design project is really about making the decisions behind those images in the right order. Whether a wall stays, where a socket goes, how deep a wardrobe is and how the evening light will fall are all connected questions. In this article we walk through our interior design process step by step, from the initial brief to life after handover, so that anyone planning to have their home designed knows in advance what they will decide at each stage and where it pays not to rush.
Where does an interior design project begin? The brief and the measured survey
Before we draw anything, we try to understand who lives in the home and how. Who gets up first, how many people cook at the same time, how often guests come, whether anyone works from home, where the books and clothes actually live? These questions shape the layout, the amount of storage and the lighting. We note not only what people want but also what bothers them in their current home, because the clearest need is often hidden inside an everyday irritation. Expectations about budget and timing are part of this first conversation too.
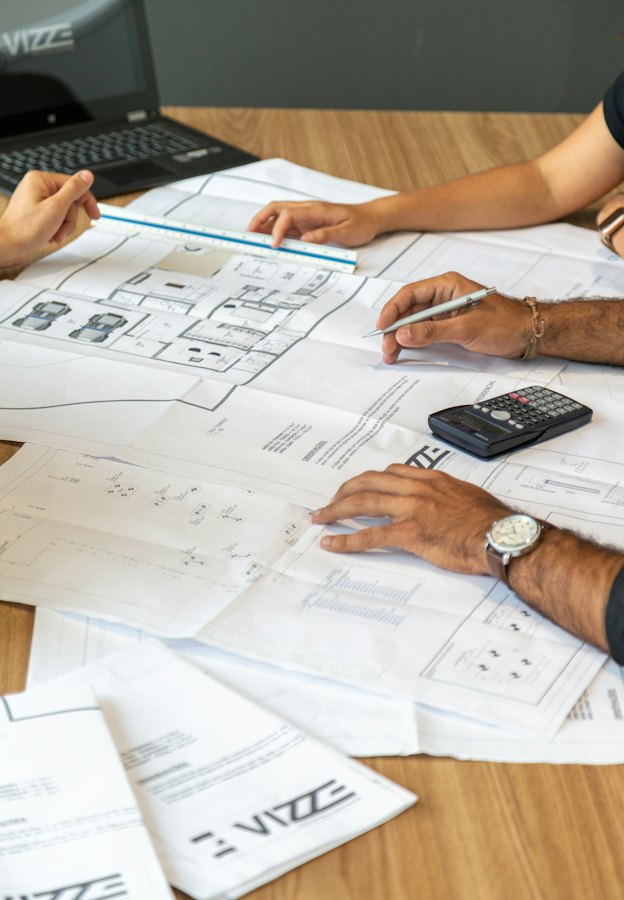
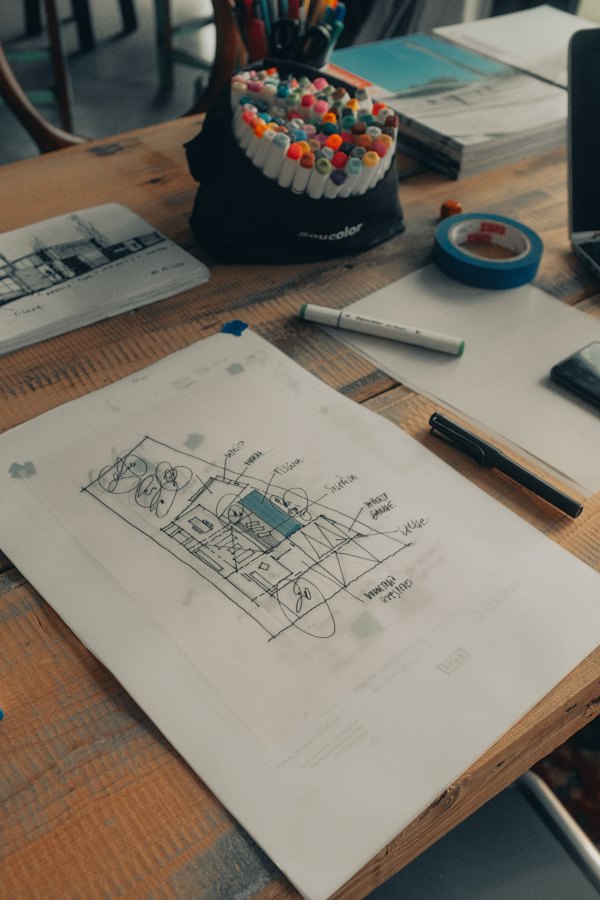
The second step is the measured survey (rölöve): recording the existing space accurately and turning it into drawings. Walls, door and window openings, ceiling heights, beams and columns, service shafts and socket positions are all logged. Even in new buildings the reality on site can differ from the drawings, so we always measure in person. This is also when we identify the structural elements: any change that touches a column, beam or shear wall is a matter for a structural assessment and the relevant permits, and the details should be confirmed with the local municipality.
Concept, mood board and layout options
The concept is a short, shared language for how the space should feel. We express it in a few sentences and a mood board, where the colour range, textures, the character of the materials, the tone of the light and the visual weight of the furniture sit side by side. A mood board is not a shopping list; it is a yardstick for weighing every decision that follows. We also go through the images the client has collected and talk about what they really like in them — the light, the simplicity, the warmth of a particular material.
Alongside the concept we prepare layout options. On the same plan we usually draw two or three arrangements, comparing how far the kitchen opens to the living room, where a work corner might sit and which wall the wardrobe should stand against. Writing down plainly what each option gains and what it gives up makes the choice easier. Working with real furniture dimensions matters here: a living room that looks generous on paper may not leave enough space to move comfortably once the sofa and coffee table are in place.
3D visuals and material selection: deciding with real samples
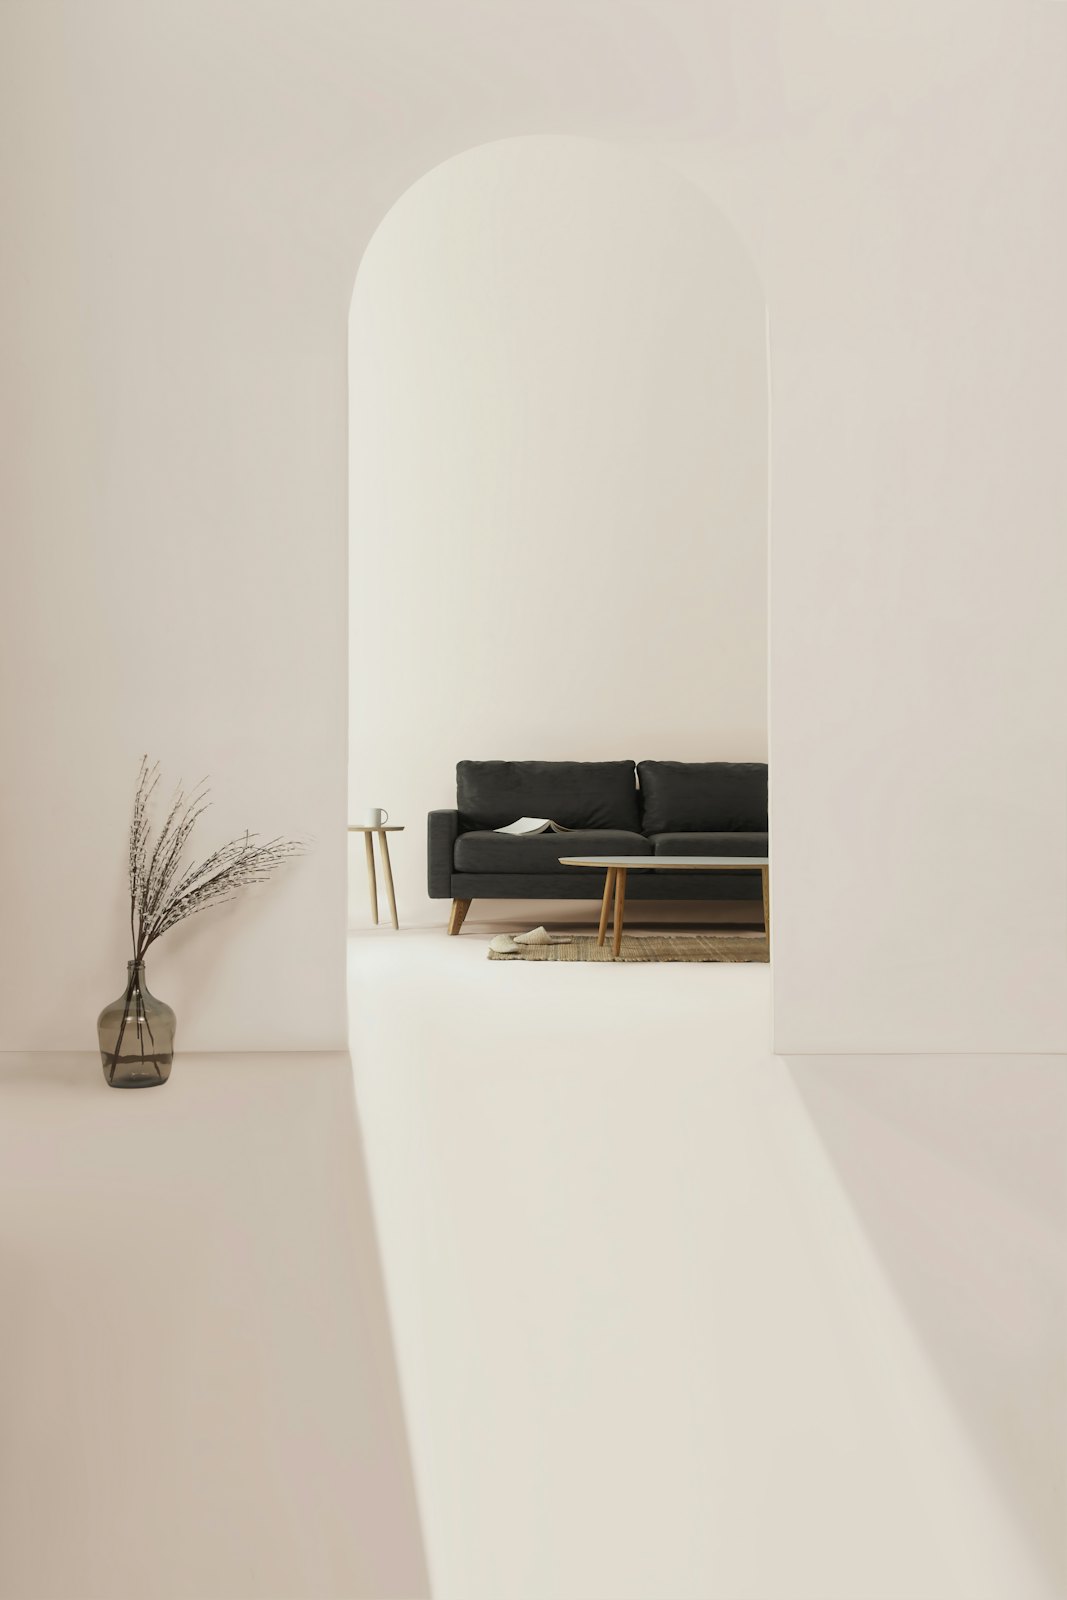
Once the layout is settled we move on to 3D visuals. For anyone not used to reading plans, they are the easiest way to understand a space, showing proportions, colour balance and the relationships between pieces of furniture in advance. Even so, they should be treated as a working tool rather than a promise. The light on screen, the camera angle and the colour calibration never match reality exactly. So we use visuals to discuss decisions and leave the final word to physical samples.
Setting up a sample table is an essential part of how we choose materials and finishes. Flooring, wall paint, timber veneer, worktop, fabric and metal fittings are laid out together under the same light. A shade that looks pleasant on a small swatch can read very differently across a whole wall. When choosing, we look beyond appearance to cleaning, wear, whether there are children or pets in the home, and whether the same product will still be available years from now.
- Look at samples in the room’s own light and at different times of day.
- Judge surfaces that will sit side by side, such as floor, wall and worktop, together.
- In bathrooms and kitchens, ask about slip resistance and how the grout is maintained.
- Find out the lead time of each chosen product and whether spare stock will be available.
Lighting design and joinery drawings
Lighting is often the last thing people think about, yet it changes a space more than almost anything else. Instead of a single fitting in the middle of the ceiling, we plan light in layers: general lighting, task lighting for surfaces such as a worktop or a reading corner, and accent lighting that brings out walls, niches or textures. Colour temperature, glare and dimming are part of the plan as well. Because fitting and switch positions go into the electrical drawings, these decisions need to be fixed before the ceiling is closed.
Where ready-made furniture falls short, bespoke joinery takes over: built-in wardrobes, kitchen and bathroom cabinets, bookshelves, fixed seating, internal doors and frames. Our joinery drawings set out dimensions, material thicknesses, door divisions, hinge and runner types and opening details. A good joinery drawing leaves no room for interpretation between the workshop and the site. Having the workshop take final measurements on site before fabrication starts also prevents most of the mismatches that might otherwise appear later.
How do technical coordination, quantities and purchasing work?
Visible surfaces have to be designed together with the services behind them. Socket and switch positions depend on the furniture layout, kitchen and bathroom plumbing depends on the appliances and fittings chosen, and the position of air-conditioning units depends on the ceiling design. That is why we work on shared drawings with the electrical, plumbing and HVAC teams, resolving clashes at the desk rather than on site. We also point out early on that work affecting gas lines or a building’s shared services may need approval from the relevant authorities and the building management.
When the drawings are complete we prepare a bill of quantities, listing how much of each material is needed: how many light fittings, how many metres of skirting, how many square metres of flooring. The bill of quantities is the basis for collecting quotes and seeing the budget realistically. Quotes from different suppliers should be compared against the same item descriptions; otherwise a price that looks low may simply be missing something. Since time and cost vary with the scale and scope of the project and the materials chosen, we prefer to talk through a transparent item list.
- Long lead times: tiles, light fittings and special fabrics should be ordered early.
- Delivery order: products should arrive on site in step with the work programme.
- Spare allowance: finishes need an allowance for cutting waste and for repairs that may be needed later.
- Documents: warranties, user guides and maintenance information should be gathered from the start for the handover file.
Site supervision, handover and starting to live in the space
Once work begins, we make regular site visits to check that everything is progressing in line with the drawings. Plumbing and electrical runs are photographed before they are covered, because once a wall is closed it becomes hard to see what lies inside. Something unforeseen always turns up on site: a wall that is out of true, an unexpected pipe, a delayed delivery. Making those decisions quickly without undermining the concept is the most tangible benefit of keeping the same team from first idea to finished site.
As the work nears completion, we walk through the space room by room and draw up a snagging list. Small but important items go on it: a paint touch-up, a cabinet door that needs adjusting, a socket that does not work, a missing bead of sealant. Each item is passed to the team responsible and checked off once it is done. At handover we leave a file with maintenance information, warranty documents and the codes of the paints and finishes used; years later, it makes even a small repair far simpler.
Living in the space is the final step of the process. In the first weeks some habits settle in and a few small adjustments emerge as genuine needs: the angle of a lamp, the height of a shelf, the density of a curtain. Walking through the home together a few months later is valuable for seeing what works. If you are thinking of working with an interior designer, start by writing a short list of what bothers you and what you love about your home, and add the floor plan if you have one; it is the most useful way to open a first conversation.
Frequently Asked Questions
How long does an interior design project take?
It depends on the size of the space, the scope of work, the amount of bespoke joinery and the lead times of the chosen materials. A job limited to refreshing surfaces and a transformation that rethinks all the services do not follow the same timetable. Rather than quote a fixed duration, we prepare a project-specific programme after the survey and the brief.
Can the work be carried out while we are living at home?
For small jobs it can be possible, but dust, noise and temporary shut-offs of water or power have a real impact on daily life. When the work involves kitchens or bathrooms, moving out for a while is usually better both for the quality of the work and for the household’s comfort. We make that decision together when preparing the work programme.
Will the finished space look exactly like the 3D visuals?
Visuals reliably show proportions, layout and colour balance, but because of screen light and colour calibration, the real tone and texture of a material can come across differently. That is why final decisions are made with physical samples. Thinking of the visual as a guide and the sample as the decision-making tool helps set the right expectations.
Can I keep my existing furniture in the new design?
Usually, yes. During the brief we list the pieces you want to keep, with their dimensions, and build the layout and colour decisions around them. Carrying a well-loved piece in good condition into the new arrangement gives the space continuity and avoids unnecessary purchases. Where needed, we suggest small interventions such as reupholstery or surface repair.